The great thing about digital cameras is that they are operated by internally running software, called fi rmware, that can improve operation or fi x problems that might arise. The 7D is no exception, and the Canon Firmware Update page (www.canon.com/eos-d/) provides all of the data you need to make sure your camera is up to date. It’s a good idea to check your camera’s fi rmware against this Web site to make sure you have the most recent version.
CHECKING THE CAMERA’S CURRENT FIRMWARE VERSION NUMBER

- Rotate the Mode dial to select P (it will not work in the Creative Auto or Full Auto modes).
- Press the Menu button to display the menu.
- Turn the Main dial to get to the third camera setup menu tab (third menu tab from the right), and you will see the currently installed fi rmware version number at the bottom of the settings (Figure 2.2). If this version is not the latest one listed on the Canon Web site, follow the steps in the next section to load the latest version.
UPDATING THE FIRMWARE DIRECTLY FROM YOUR COMPUTER
- Go to the Canon Web site’s digital camera page (www.canon.com/eos-d/) and fi nd the link to the Canon 7D. This will take you to the camera-specifi c Web page (A).
- From the “Drivers and Downloads” section, download the fi rmware update fi le that matches your operating system (Windows or Mac) (B).
- Extract the downloaded fi rmware fi le as per your operating system (C). (The fi rmware will automatically be extracted if you are using Mac OS.)

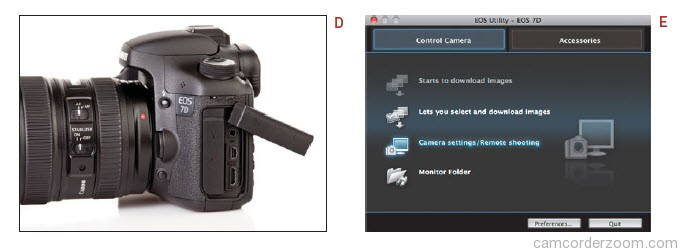
- Attach your camera to the computer via USB and turn the camera on (D). Make sure there is a CF card inserted in your camera.
- Open the EOS Utility program and select the Camera Settings/Remote Shooting option (E). (This program was included on the CD in your camera box. You will need to install it prior to performing this operation.)

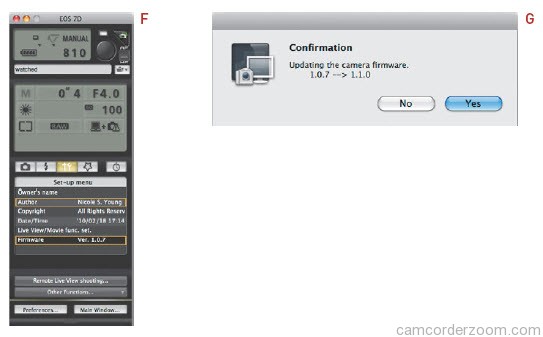
- When the panel opens, click the Set-Up icon and then click the Firmware button at the bottom of the panel (F).
- Click OK and then locate the extracted fi rmware fi le to begin the update.
- Click Yes on the confi rmation screen to begin the update (G). Note that the software will not allow you to continue the update unless the camera is plugged into the AC power adapter or the battery is fully charged.